

Happy 2025 Spring!
It feels like time has just flown by these past couple of years, and now the end of holiday magic came to my door on Christmas 2024. Making it the first official Christmas without believing in Santa Claus. Suspicions were had, but nothing confirmed until July 2024 while cleaning out the closet. In a few minutes, all the years of playing Santa, Minty, Easter Bunny, and the tooth fairy came to an end.
I am very grateful my children got to experience the joy and belief in magic that those traditions brought with them. Watching a child's face on Christmas morning is one of the best experiences in life. Pure joy and happiness times infinity.
I asked the girls what traditions they wanted me to keep doing, and they chose the decorated birthday chair and Easter basket hunt. So, in the same few minutes that ended it all, 2 new traditions were reborn and graduated into adulthood.


So begins a new era for holidays at Greenacre. An era of chilling like a villain, where you don't have to hide or lie about anything. You can fill the stockings without worrying about the noise the tissue paper makes. No more hoping they don't hear it and figure it out when they unwrap the tissue paper that made the same noise the night before. No more stressing about letters, arrivals, departures, or having to lie to maintain the fantasy. It makes me feel both sad and glad at the same time. So if you're worried about what happens when your child finds out about Santa, don’t be. It’s just the next chapter in your lives that comes with its own perks.
One being that you can decide what traditions you want to keep or create as a family. Why not start an Easter basket hunt for the older kids or adults? We are all kids at heart, and solving riddles to get a goodie basket will bring a smile to anyone's face.
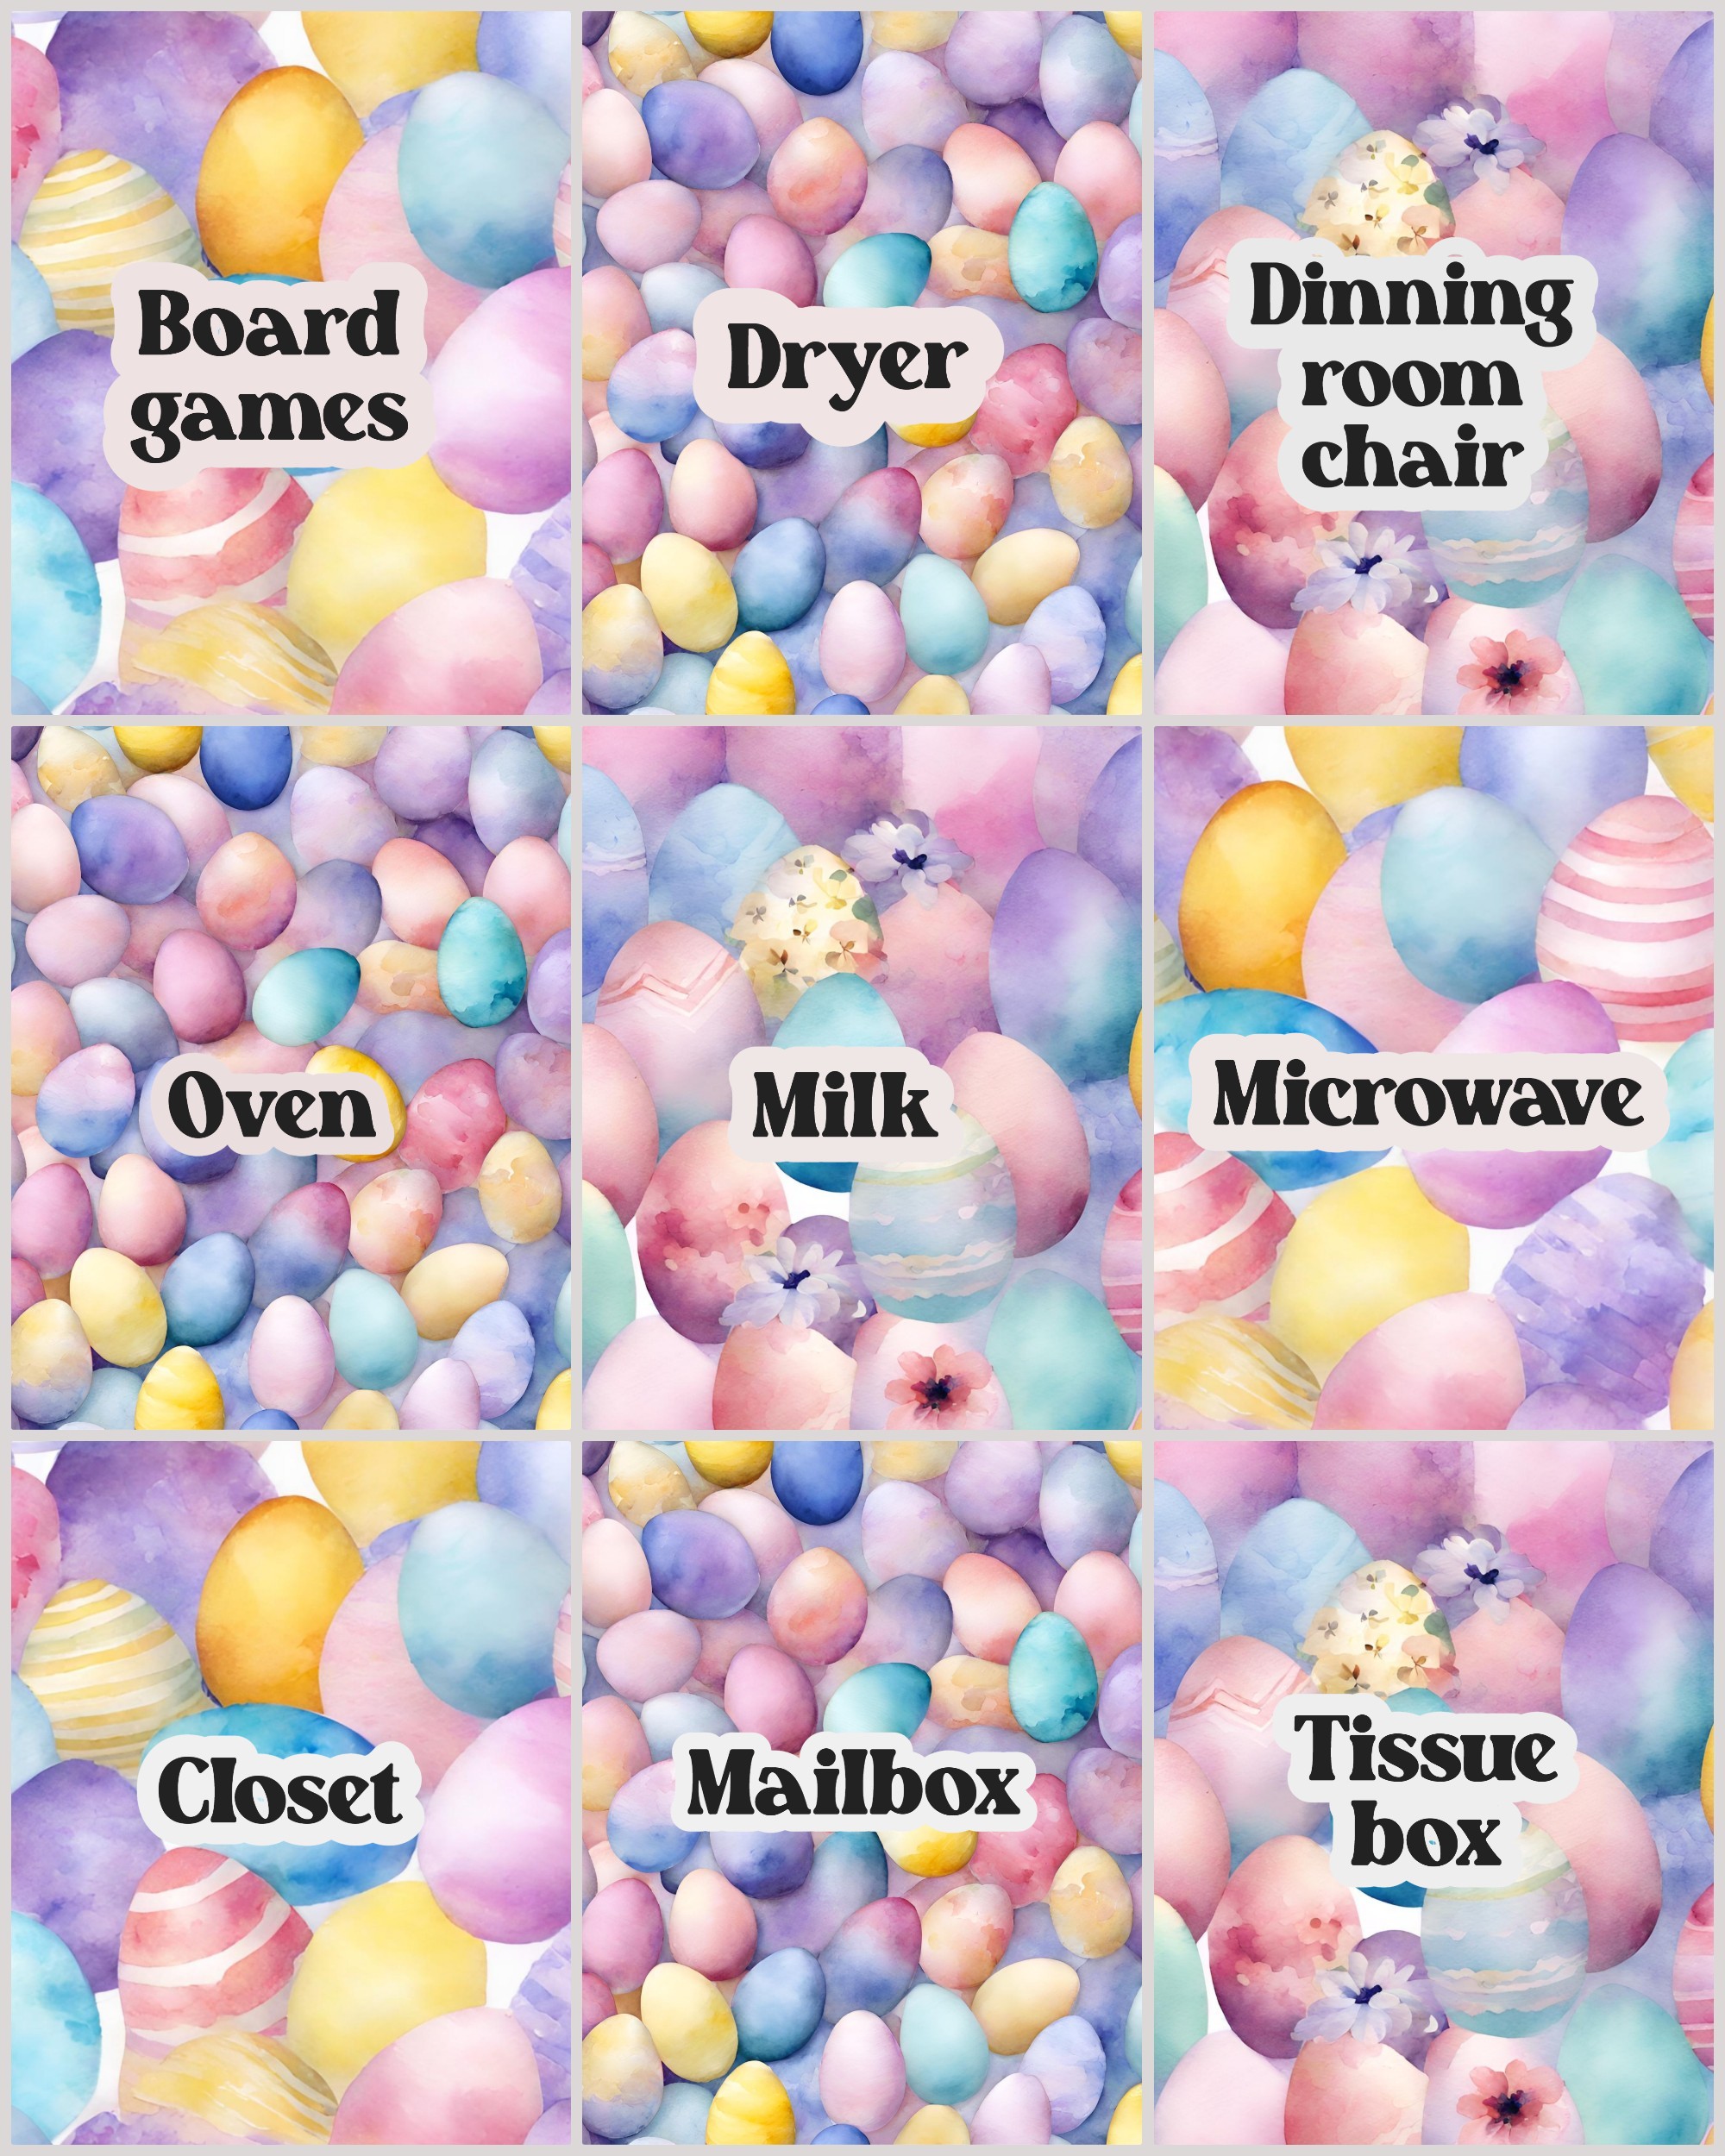
First, start by making the baskets. Fill it with items you think that person would enjoy, or things you want to give them. Then scroll down to the clues and download the pages that have clues that are easily found in your home. Right-click on the picture to save it to your computer. Then print and cut the clues. You can either place the clues in numbered eggs or just place the clues in each location.
To plan the hunting route, you need to locate the items used in the clues and figure out the distances between them. I suggest that you make a map for yourself by writing down the locations of each clue in sequence.
Each set of clues has the answer key below to help you customize a hunt for your home by identifying the items you would need for the clues.


.jpg)


.jpg)


